A full-range position spreads liquidity across the full supported price range for a pool. Full-range positions are generally simpler to create than custom-range positions because you do not need to choose a specific price range. Liquidity is spread across a wider range, which can make it less concentrated around the current price.

Possible benefits

  • Simpler range setup
  • Position remains in range across the full supported price range
  • May require less range management than custom-range positions

Important considerations

  • Liquidity is less concentrated around the current price
  • Fee accrual depends on swaps using your liquidity
  • Position value can still be affected by price movement and impermanent loss
Full-range positions may be useful for users who want a simpler range setup. Custom-range positions allow selected price ranges, but may require more monitoring.

How to create a full-range position

1

Navigate to the Pools page

Go to orca.so/pools.
Always verify the URL in your browser before connecting your wallet.
2

Connect your wallet

Click Connect Wallet and ensure both the Orca interface and your wallet are set to the Solana network.
3

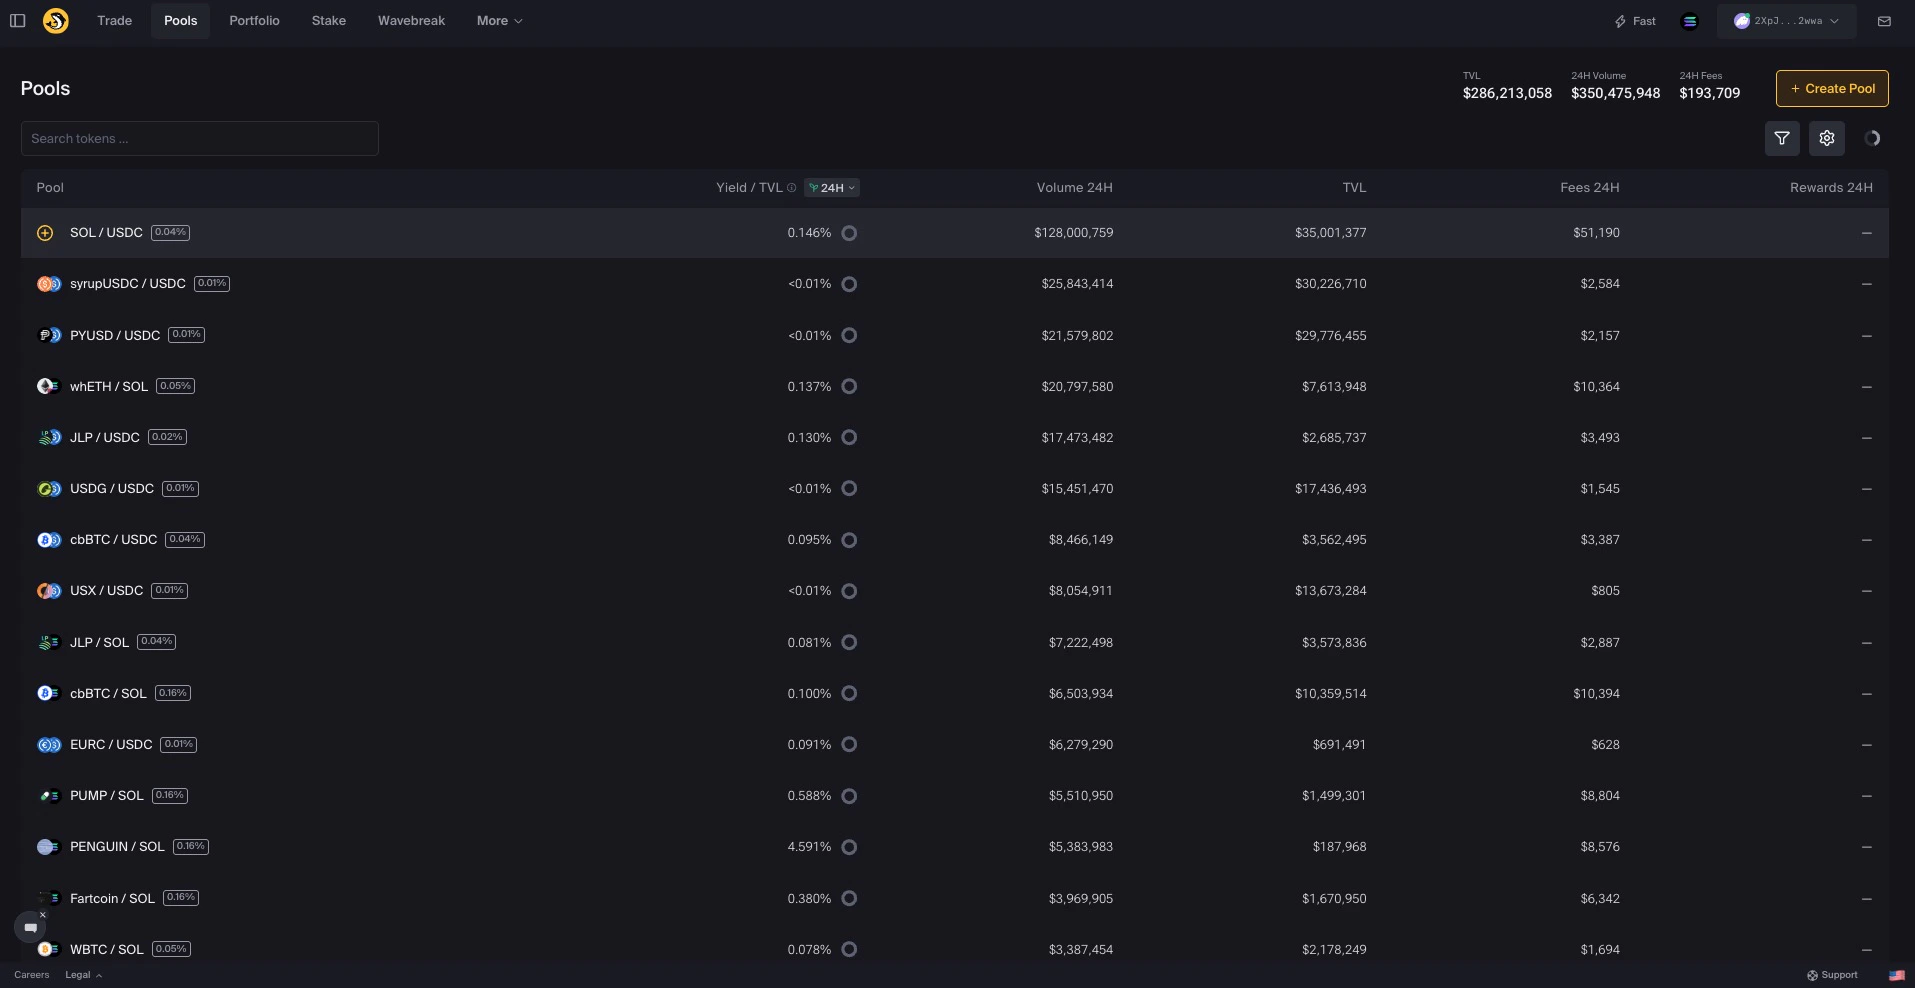
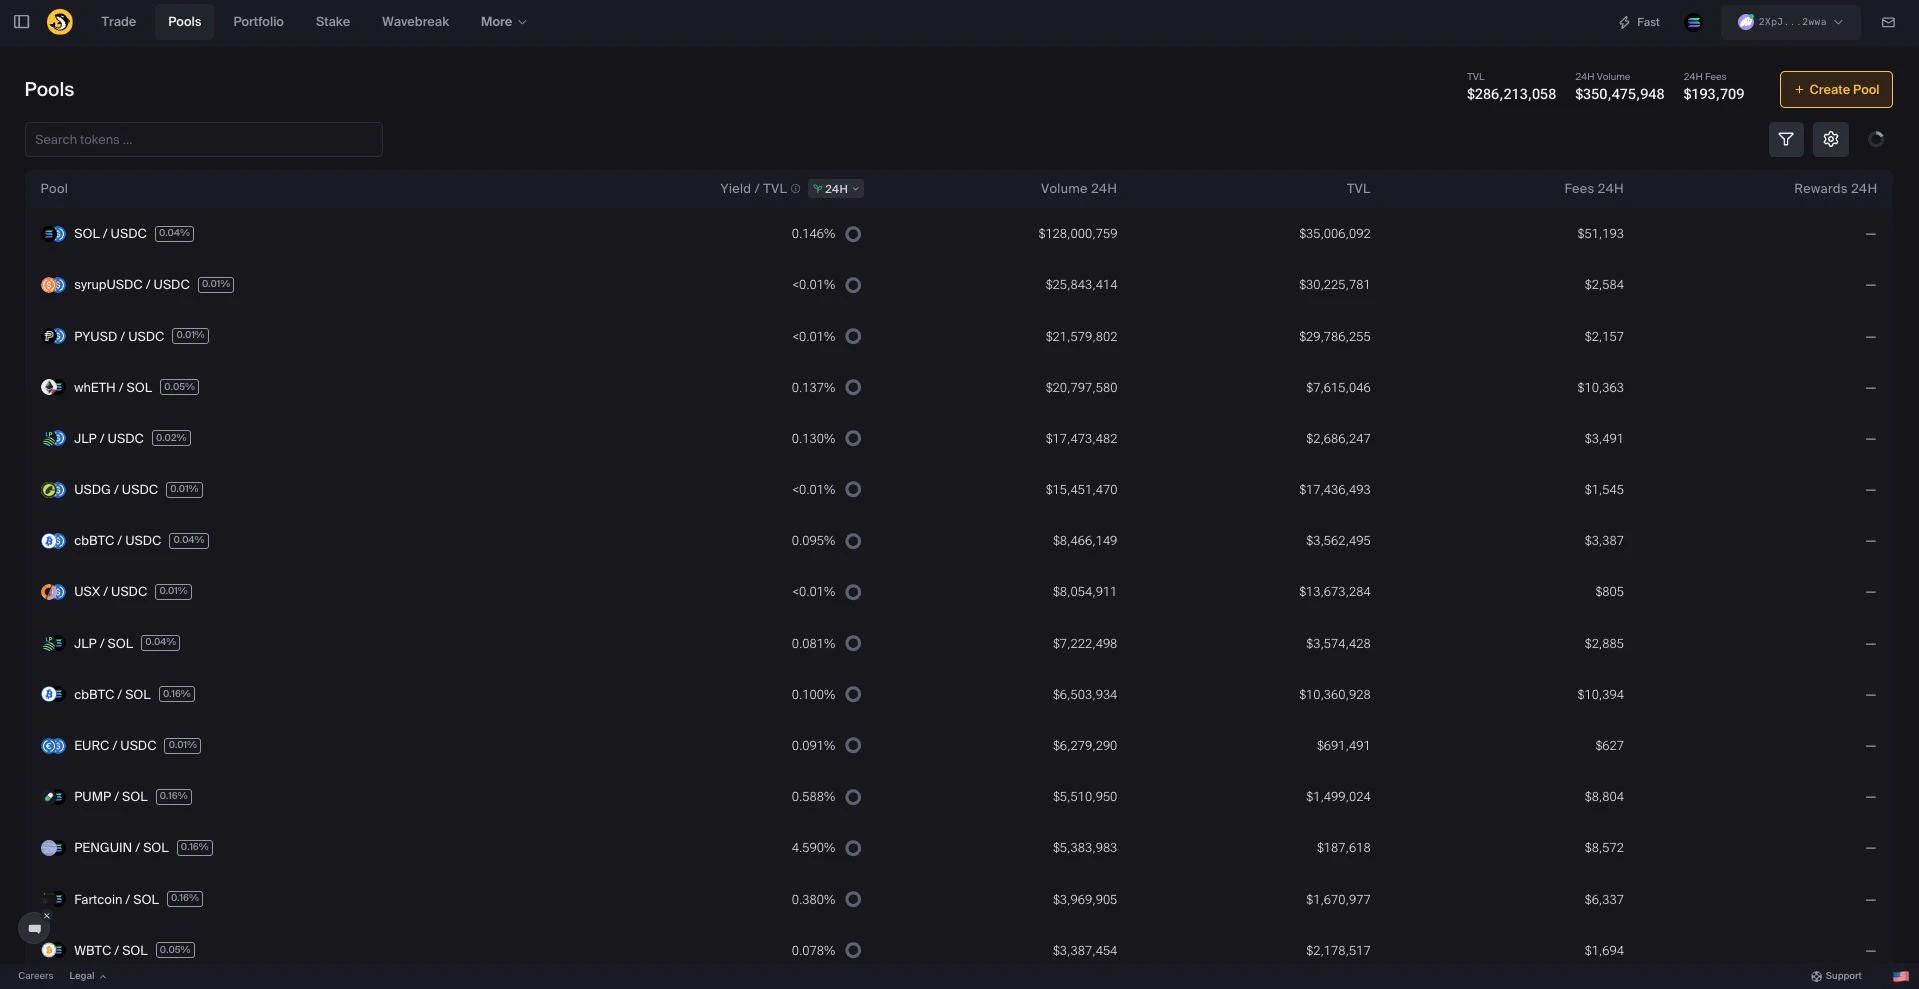
Find your pool

Locate the pool you want to add liquidity to:
  • Browse the pool list, or
  • Use the search field to find by token name, ticker, or mint address
Pool search interface

Search for pools by token name, ticker, or address

Verify that you selected the correct token by checking the mint address.
4

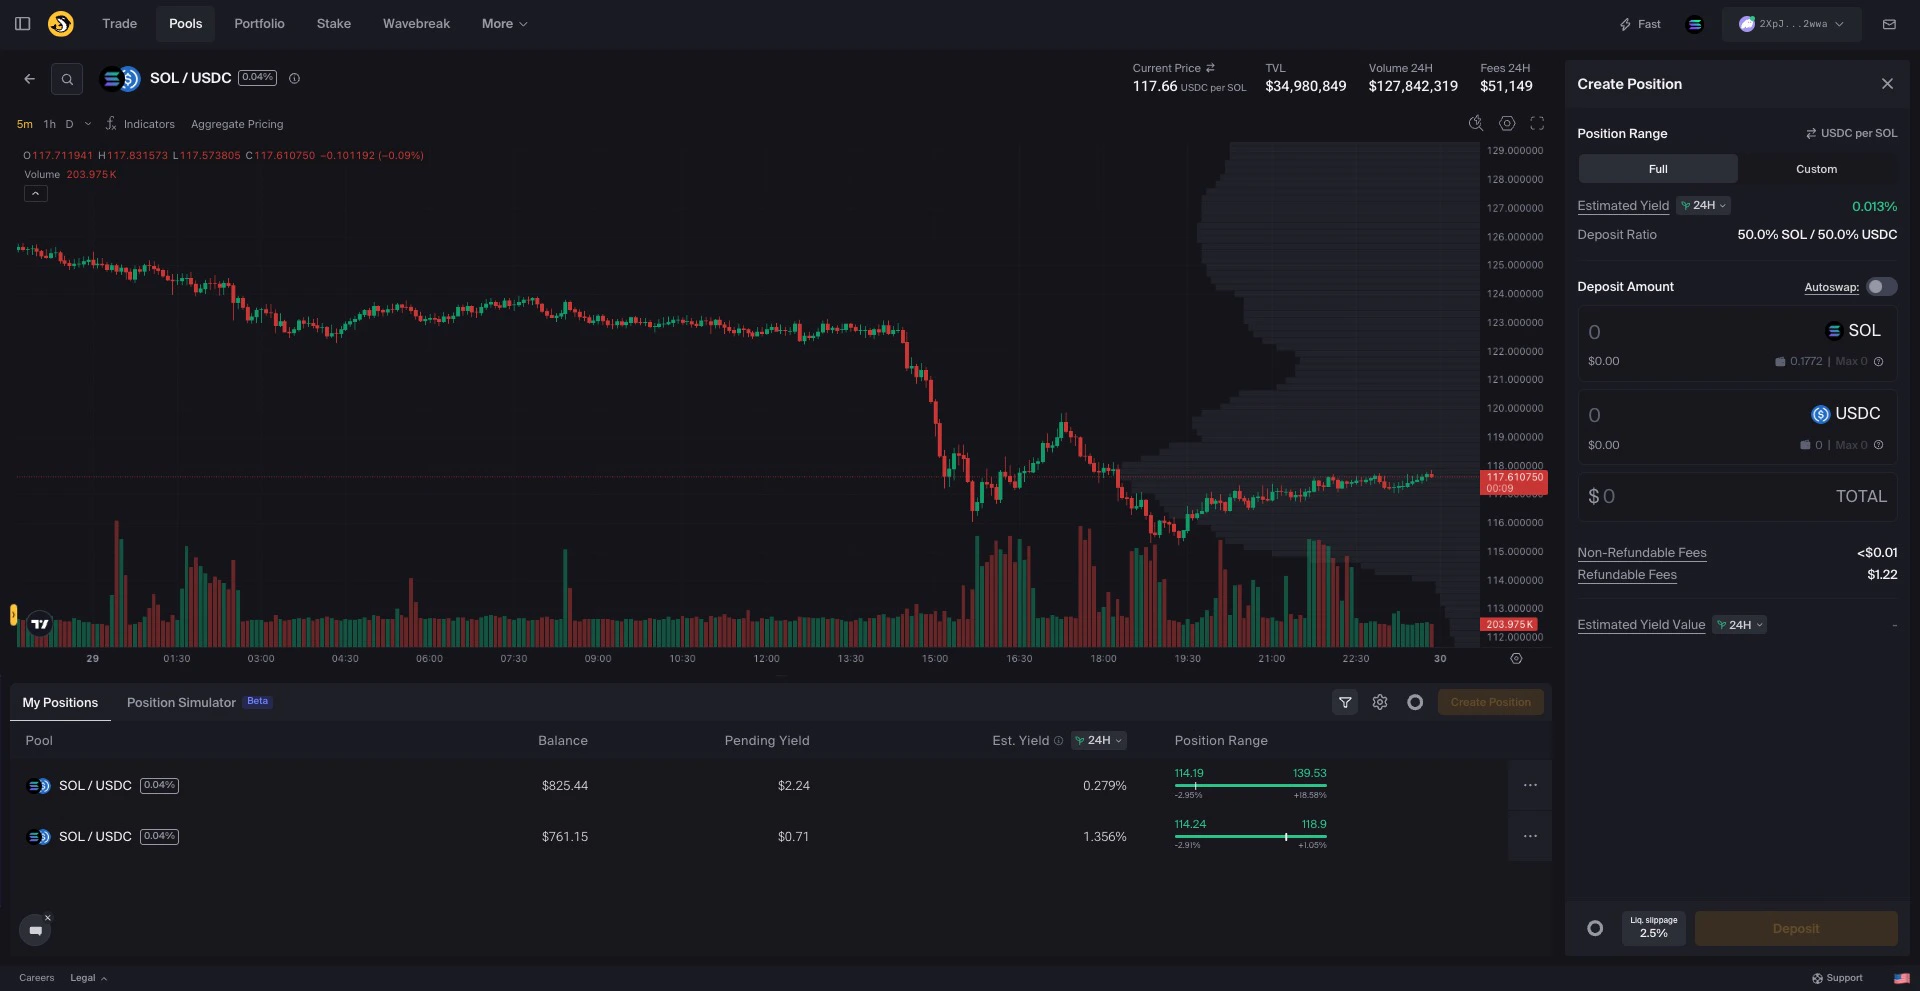
Open the Liquidity Terminal

Click the pool to open the Liquidity Terminal.
Liquidity Terminal

The Liquidity Terminal shows pool details and position creation

5

Select Full range

In the Create Position sidebar, ensure Full is selected.
Full range selection

Select Full for a full-range position

6

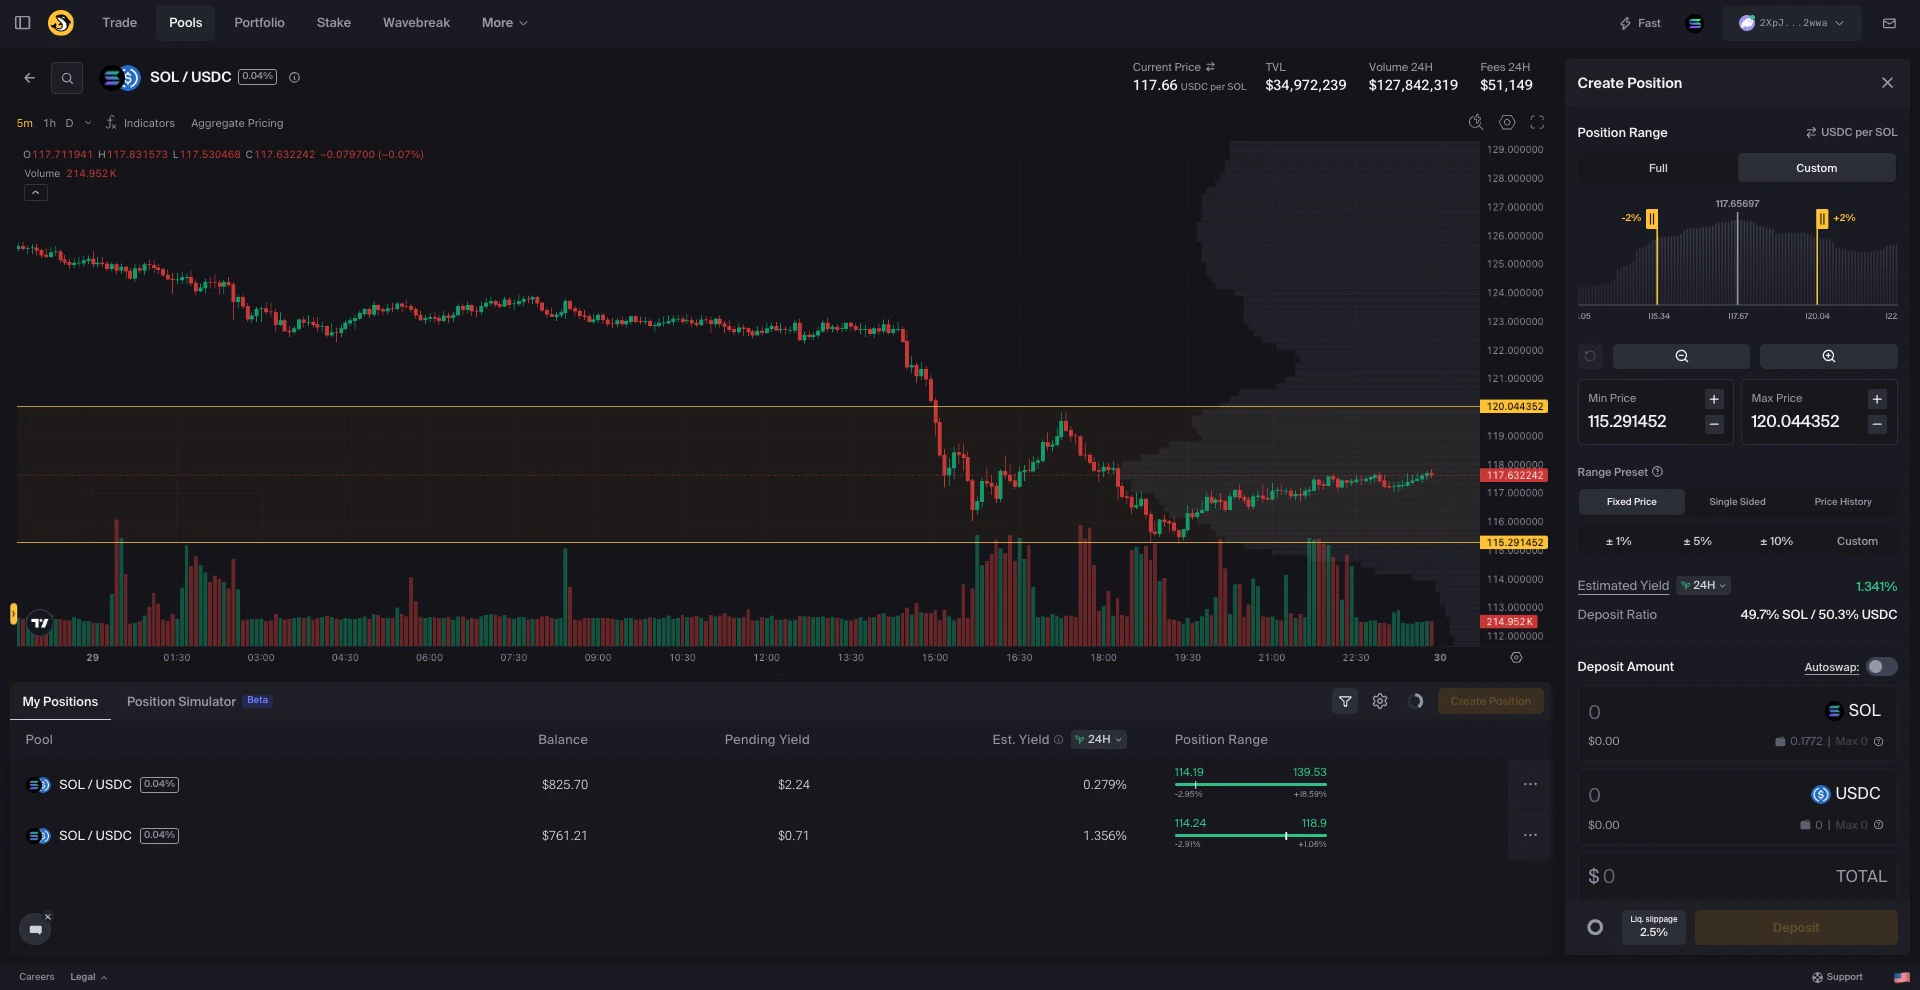
Enter deposit amounts

Enter the amount to deposit in one of the token fields. The other value is calculated based on the pool ratio.
Deposit amount entry

Enter your deposit amount

Options may include:
  • Type a specific amount
  • Click Max to use your available wallet balance
  • Use Autoswap to adjust token amounts for the position
See Understanding Slippage for details on slippage settings.
7

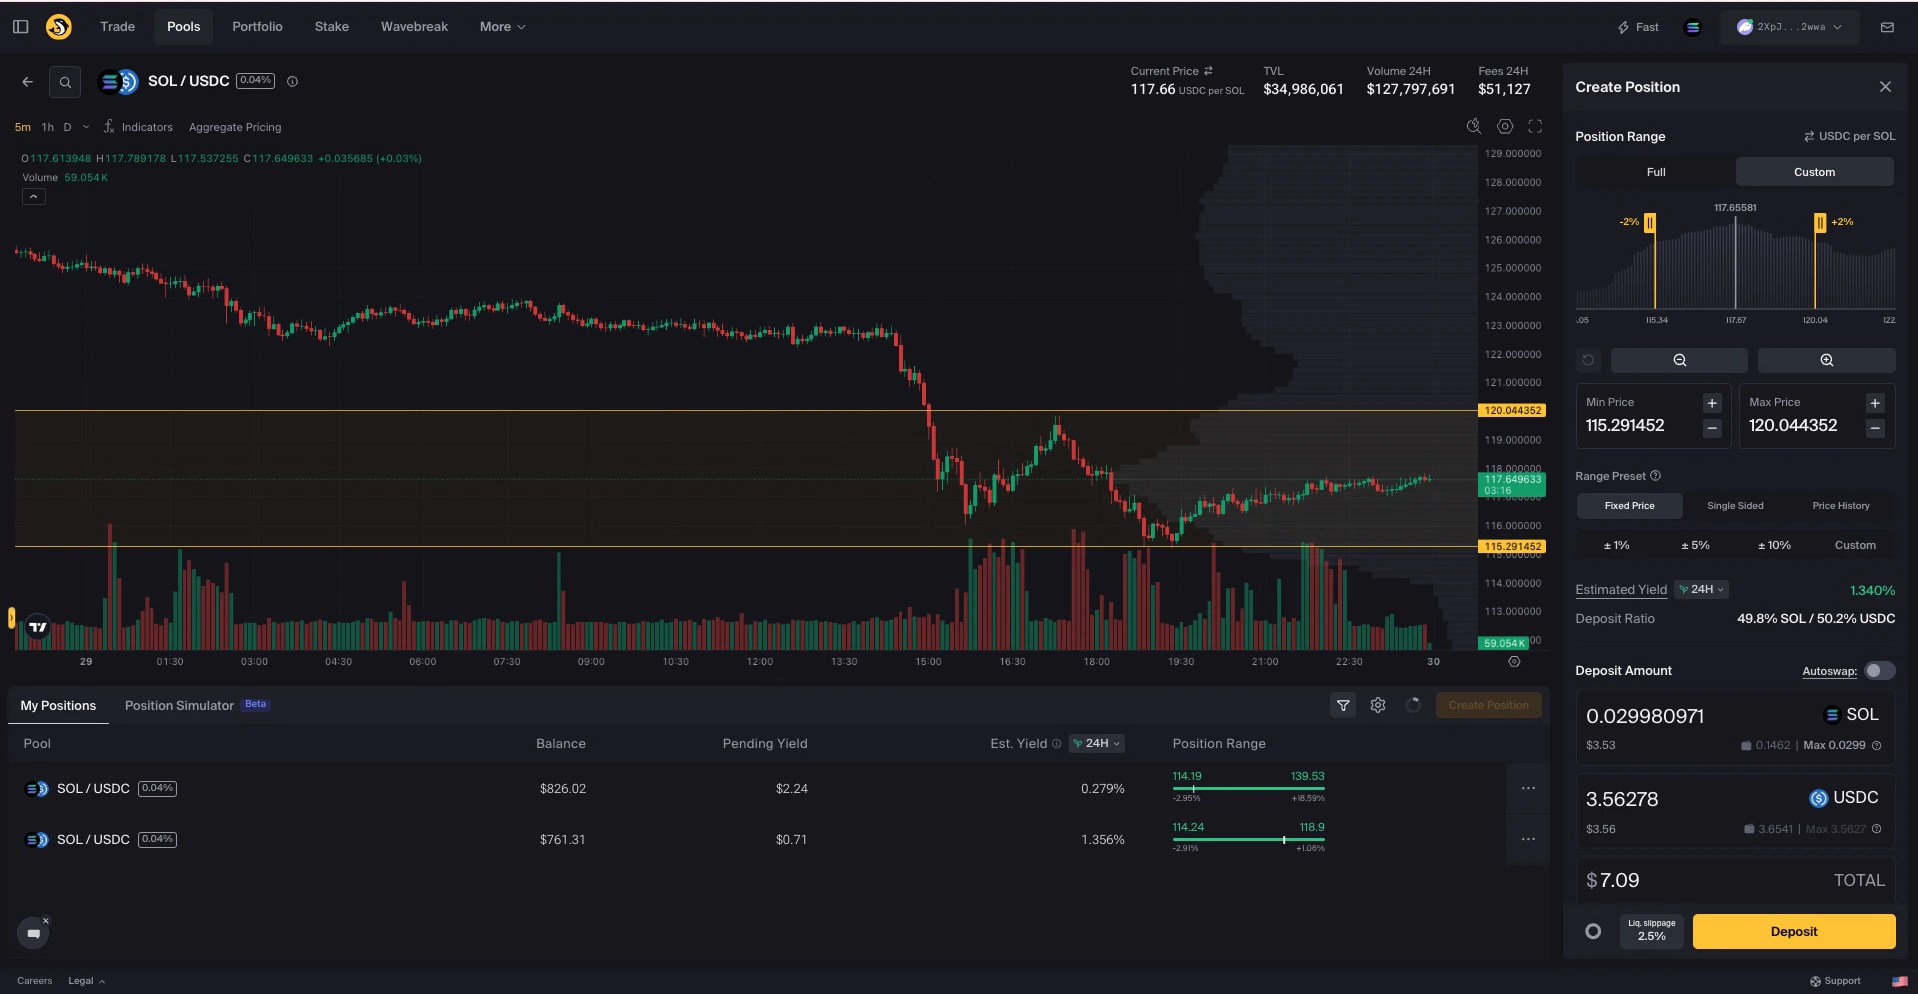
Complete your deposit

Review your deposit details and click Deposit.
Deposit button

Click Deposit to create your position

8

Approve the transaction

Review the details in your wallet, including network fees, before approving.
Review the pool price, deposit amounts, slippage setting, and transaction details carefully. If the pool price differs from wider market prices, your position outcome may differ from expectations.

After creating your position

Your wallet receives a position NFT that represents your liquidity position. The NFT displays “DO NOT BURN”.
Protect your position NFT:
  • Do not sell or burn this NFT. It represents ownership of your liquidity position.
  • You can transfer it to move your position to another wallet.
  • Orca cannot recover liquidity if the position NFT is burned or transferred away.
Click View Details to see your transaction on Solscan.

Important reminders

  • A full-range position can still experience impermanent loss or divergence loss.
  • Fee accrual is not guaranteed and depends on swaps using your liquidity.
  • Token prices can move and affect the value of your position.
  • Slippage, transaction fees, priority fees, and market conditions can affect final outcomes.
  • Review transaction details before signing in your wallet.

Next Steps

Manage Portfolio

Review and manage your positions

Harvest Fees

Collect accrued fees

Custom-Range Position

Learn how selected price ranges work

Position Alerts

Get notified when selected conditions occur